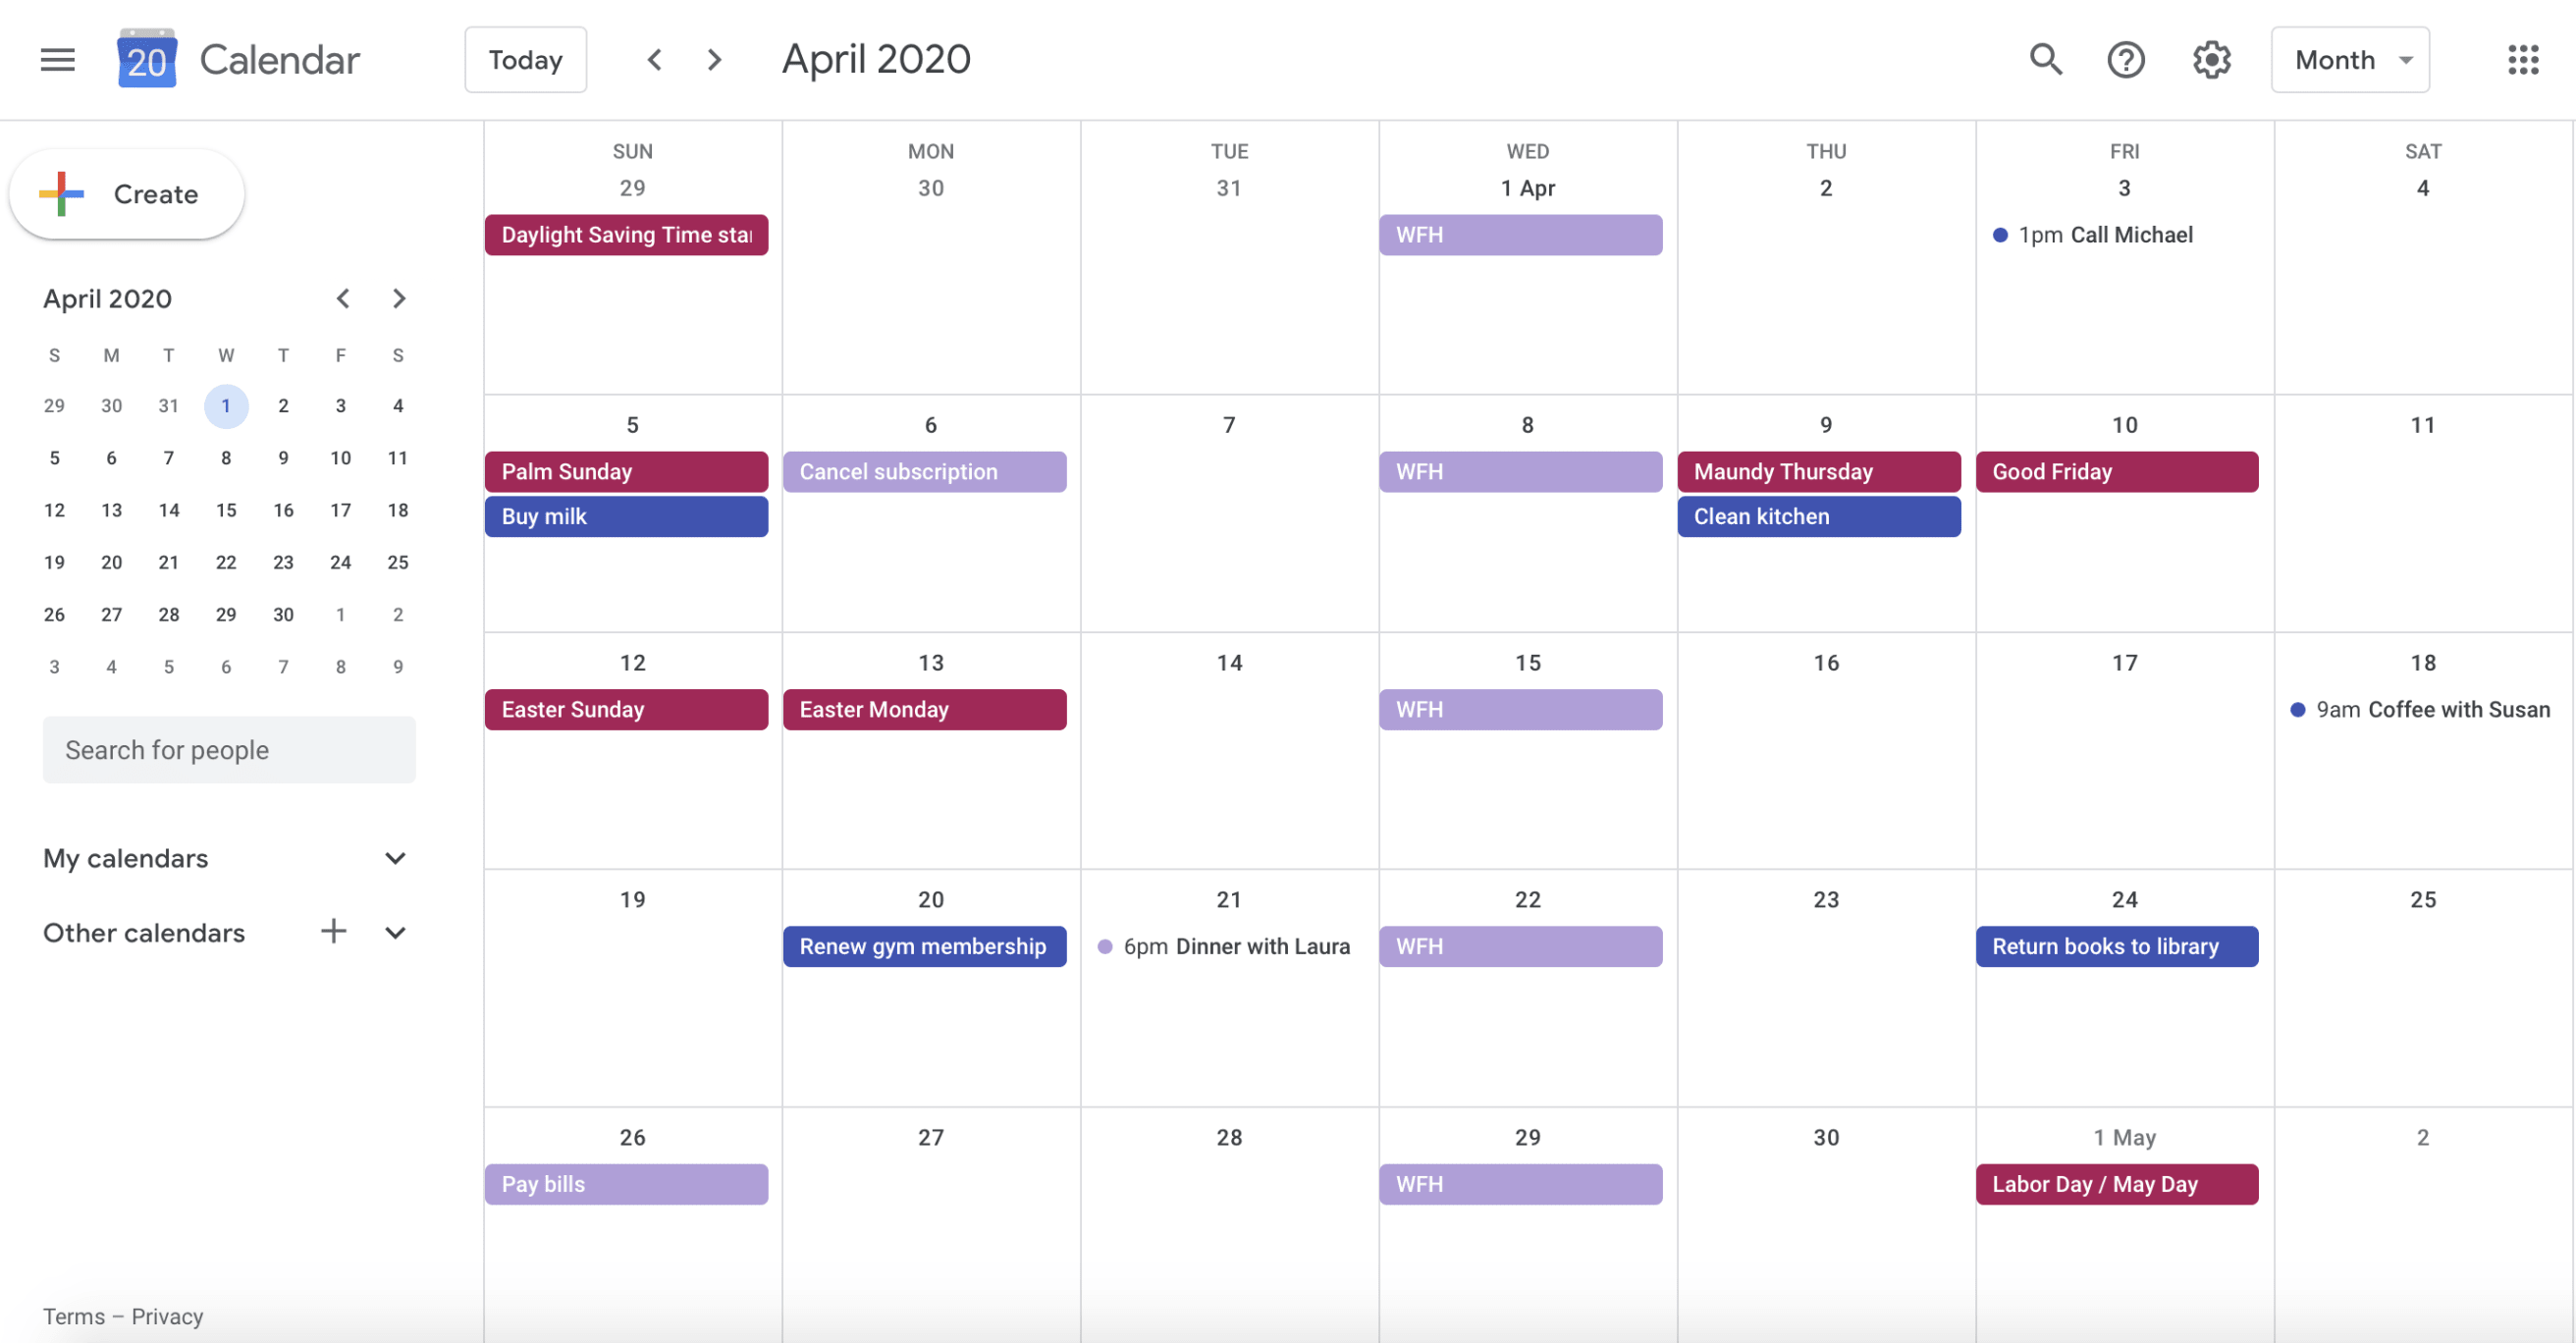
The Todoist calendar feed sets up a one-way sync from Todoist to any calendar app that supports calendar feed subscriptions. You can see all your scheduled Todoist tasks inside your favorite calendar app.
With one-way sync, changes made in Todoist will appear in the calendar, but changes made in the calendar won’t sync to Todoist.
When a Todoist calendar feed is added to the calendar:
- Tasks in personal projects or shared projects where you're a collaborator will appear.
- Tasks with a due date will appear as all-day events.
- Tasks with a due date and due time will appear as one-hour events.
- Tasks with a due date and task duration will appear as events with the same duration.
Add an account calendar feed
The account calendar feed syncs all tasks with a due date and/or time across all projects. A new “Todoist” calendar will be created in your calendar app of choice. Here’s how to set it up:
- Click your avatar in the top-left corner of Todoist.
- Select Integrations.
- Follow the steps depending on which calendar app you’d like to use:
- Click Copy to clipboard below the calendar feed URL.
- Open the Apple Calendar app.
- Click File at the top.
- Select New Calendar Subscription...
- Paste the iCal feed you copied earlier.
- Select the Auto-refresh rate.
- Select OK.
- Click Copy to clipboard below the calendar feed URL.
- Open the Outlook calendar.
- Right-click Other Calendars.
- Select Add Calendar.
- Click From Internet...
- Paste the iCal URL.
- Click OK.
- Click Copy to clipboard below the calendar feed URL.
- Open Google Calendar.
- On the left, below My Calendars, click the + icon.
- Select From URL and follow the instructions to add the new calendar.
Add a project calendar feed
The project calendar feed creates a one-way sync between a specific Todoist project and your calendar.
A new calendar will be created for each new project you connect. Share project calendar feeds with coworkers, clients, family, or friends.
Here’s how to set it up:
- Open the project you want to view in your calendar.
- In the top-right corner, click on the three dots icon.
- Select Project calendar feed.
- Follow the steps depending on which calendar app you’d like to use:
- Click Copy to clipboard below the calendar feed URL.
- Open the Apple Calendar app.
- Click File at the top.
- Select New Calendar Subscription...
- Paste the iCal feed you copied earlier.
- Select the Auto-refresh rate.
- Select OK.
- Click Copy to clipboard below the calendar feed URL.
- Open the Outlook calendar.
- Right-click Other Calendars.
- Select Add Calendar.
- Click From Internet...
- Paste the iCal URL.
- Click OK.
- Click Copy to clipboard below the calendar feed URL.
- Open Google Calendar.
- On the left, below My Calendars, click the + icon.
- Select From URL and follow the instructions to add the new calendar.
Turn off all calendar feeds
If you need to turn off all Todoist calendar feeds, issue a new API token:
- Log in to Todoist at https://todoist.com.
- Click your avatar in the top-left.
- Select Integrations.
- Select the Developer tab.
- Click Issue a new API token. You'll be logged out from all devices authorized to access the Todoist account.
FAQ
How often your feed refreshes depends on the calendar app you use. Some calendar apps update as often as every 5 minutes, whereas others update only once per day.
Unfortunately, it’s only currently possible to manually refresh your calendar feed if you’re using Apple Calendar: If you are using Apple Calendar on macOS, press ⌘ + r. If you are using Apple Calendar on iOS, open the app and tap Calendars at the bottom of the screen, then pull down the screen to refresh.
- Open your Apple Calendar.
- Find Todoist in the calendar list in the left-hand side of the screen and right-click it.
- Select Unsubscribe.
You can find instructions on how to remove the Google Calendar integrations in this article.
- Open the Calendar tab.
- In the Folder Pane, right-click the name of the calendar that you want to delete.
- Click Delete Calendar, click Yes to confirm the deletion.
